In the warmer months I tend to paint more pictures and designs then I do in the colder months, not sure why this is but tonight I was painting my nails and decided on an ombre look, so I figured I would make a short tutorial out of it. I used a brighter colours so it showed up better on pictures but you can use any colours you like as long as you have a lighter and a darker shade to work with.
You will need.......
Light Base Colour - I used Essie Tart Deco
Darker Colour - For this I went for Essie Enuff is a Enuff
Sponge - Cosmetic sponges work well
Surface you can pour nail polish on - Here I used my art palette
Nail Polish remover and Q-tips for cleaning up the edges
Paint your nails using your lightest colour. I needed 2 coats of Tart Deco for my nails to be opaque.
Using one coat of the darker colour just on the end of your nail as a base.
Let this dry.
Pour a small amount of the dark polish out on the surface your using. Do not use quick dry polish for this step. You can always pour out more as needed
Take your sponge and bend it around your finger like in the picture above making it rounded and easier to use.
Using the sponge pick up colour from your surface and blot some colour off so there is very little polish on your sponge now sponge the darker colour on your nails starting almost 3/4 of the way down..it should be hardly any of the darker colour on your nails during this step.
Use the same technique as the last step but start the sponging a bit higher up (closer to the edge). REPEAT this step a few times starting a bit higher up each time until you have achieved the look you want.
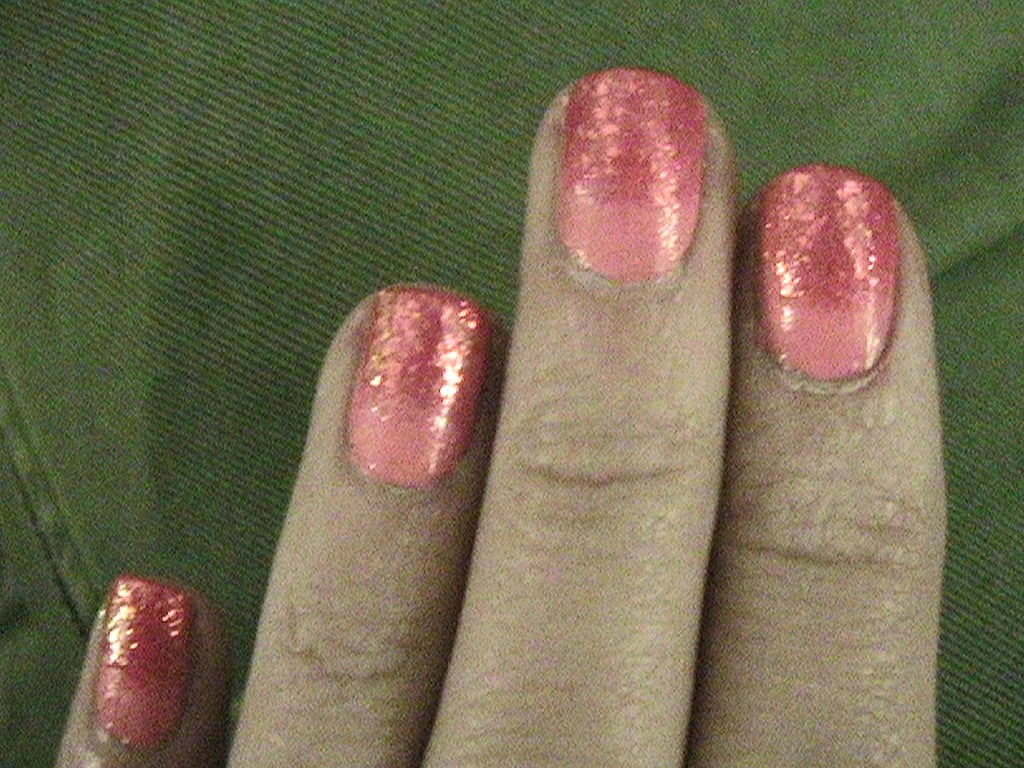
I finished by adding a sparkly top coat to the darker colour. A top coat over the whole nail once completely dry then used my polish remover and Q-tips to clean up the edges...
I sure aint an expert but I had fun doing my nails!!
Hope you like:)
Sara XO


No comments:
Post a Comment